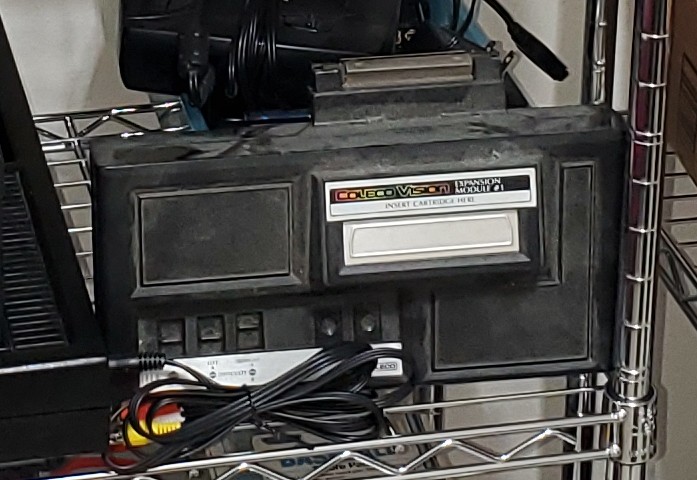
 So, while digging though my collection I discovered I have the ColecoVision Expansion Module #1. It was given to me in dirty, dusty condition about 25 years ago, thrown into a plastic container and promptly forgotten.
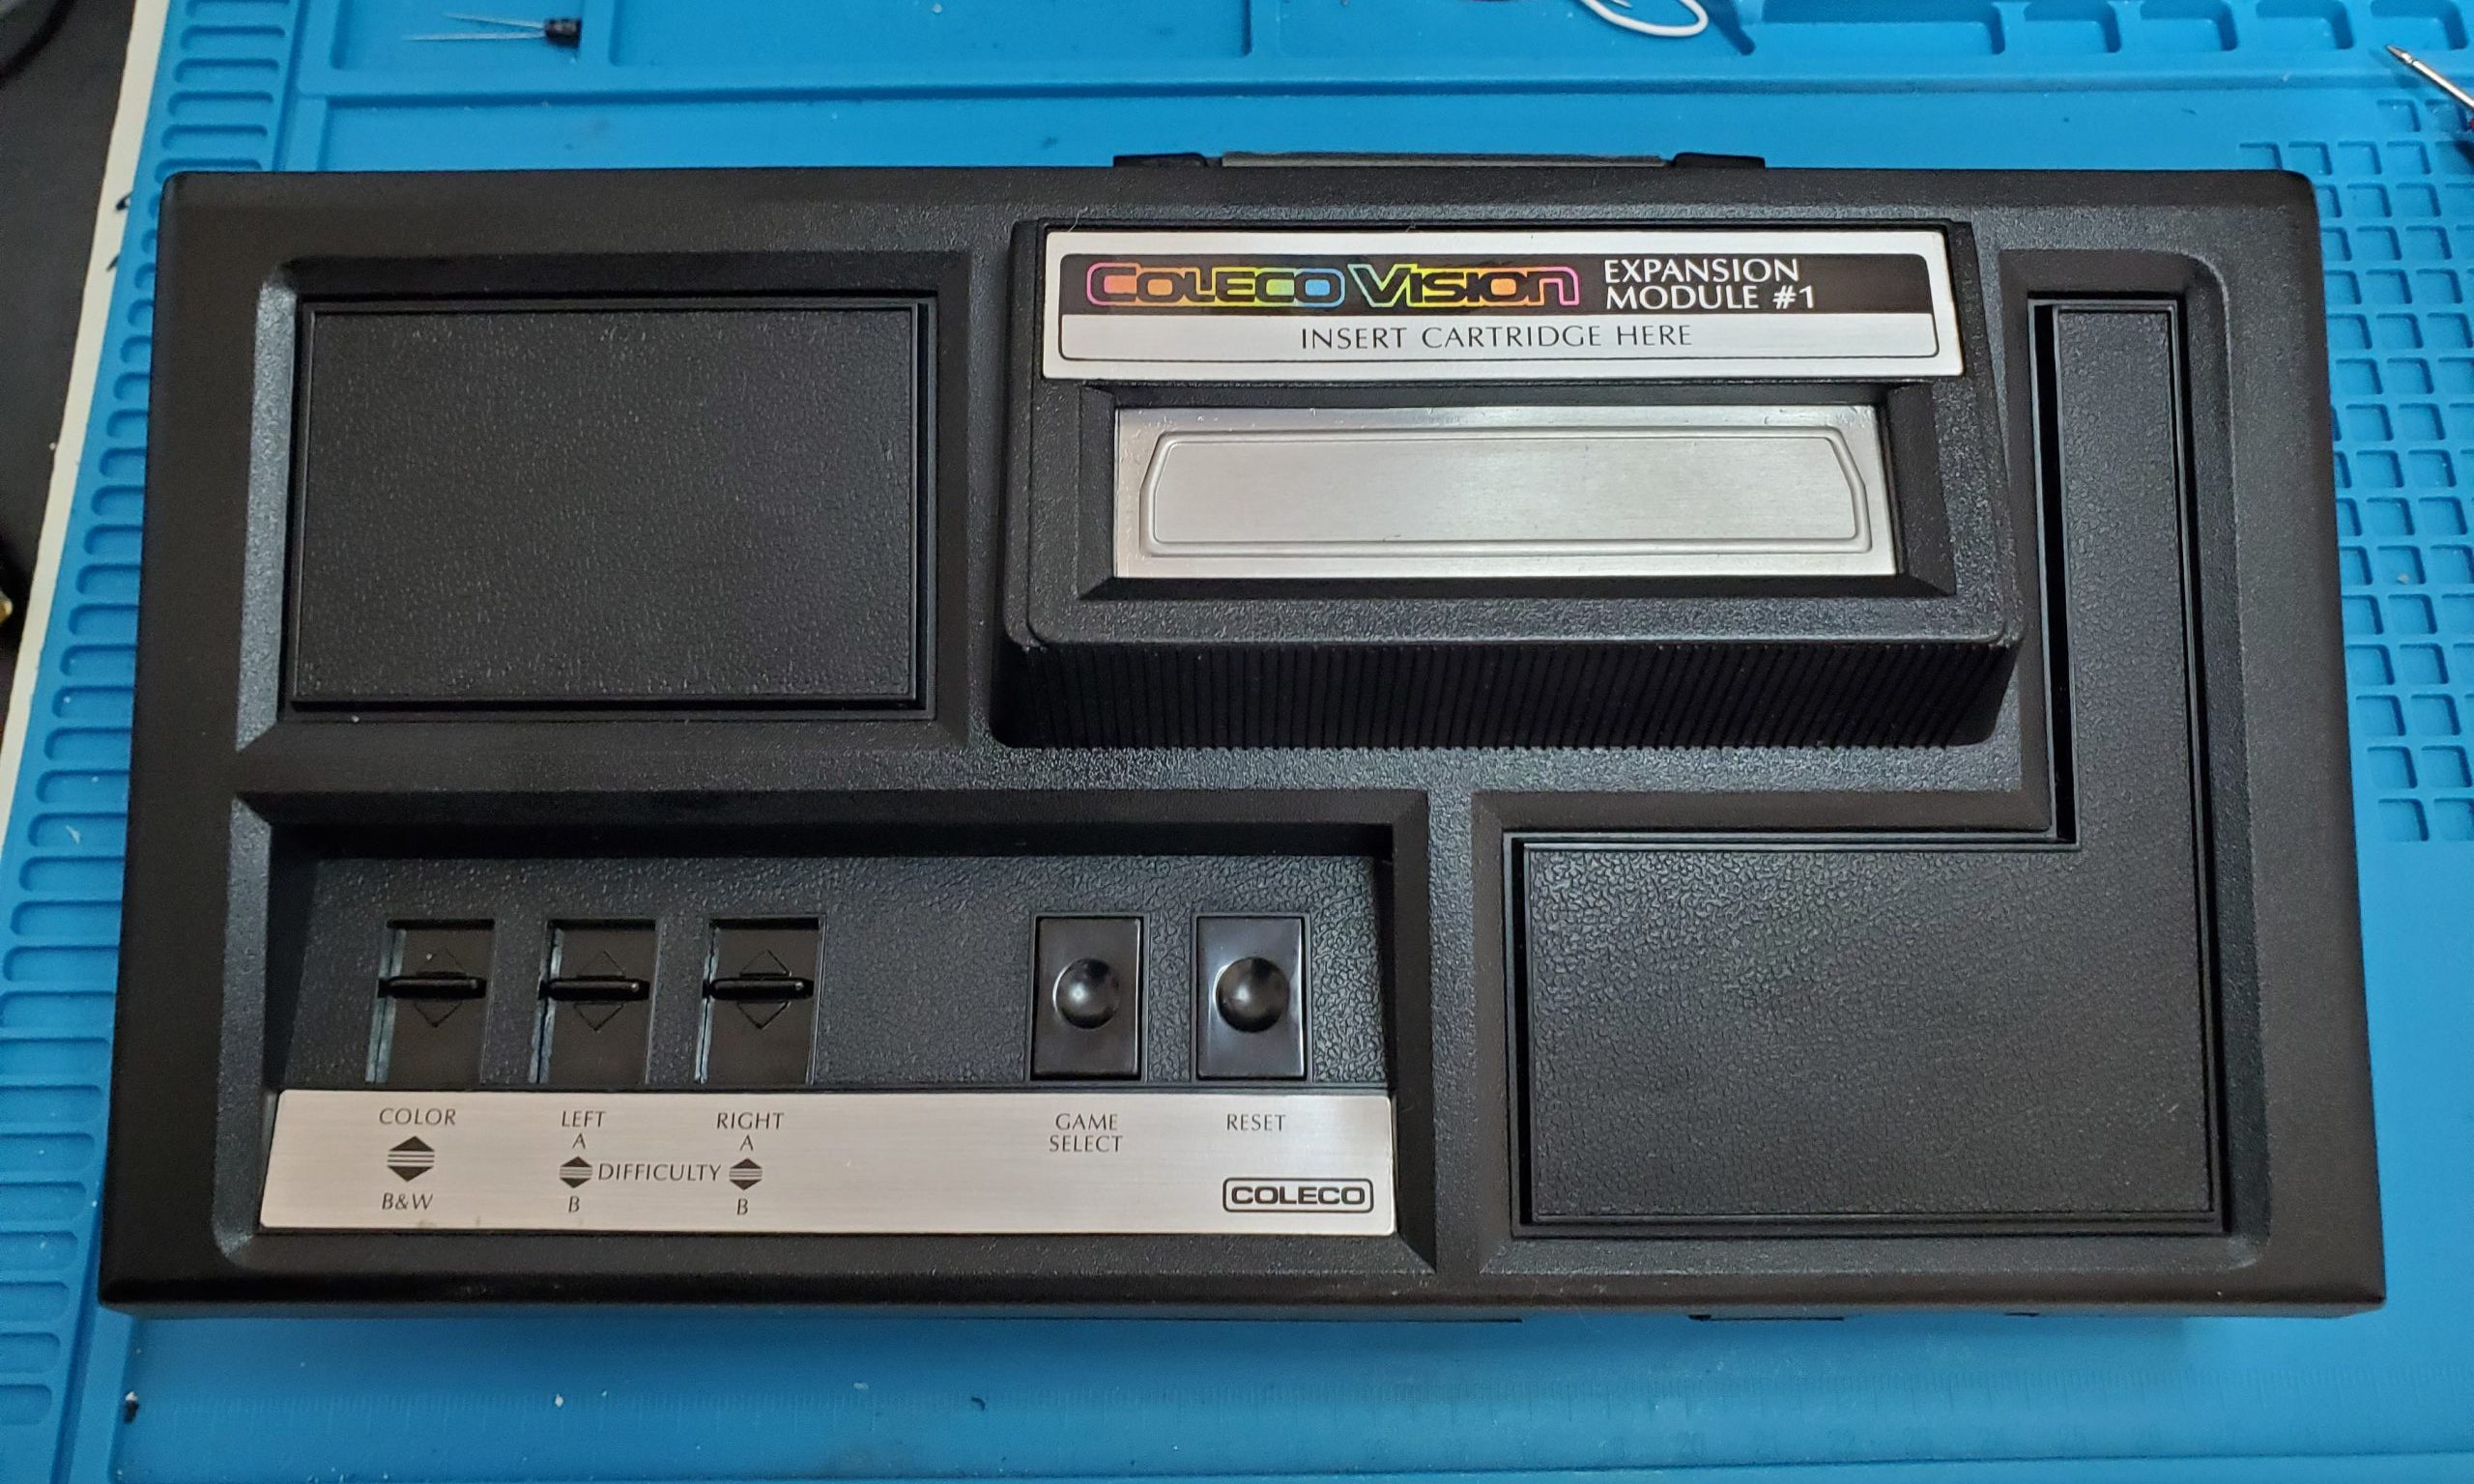
For those who don’t know, the CVEM#1 was an add-on for the ColecoVision that allowed you to play Atari 2600 cartridges.
Since I just finished making the ColecoVision usable with composite video, I decided to clean this up too.
 The first thing I did brush off the top layer of dirt and disassemble it. I figured it would be easier to clean the shell if I could completely submerge it in water, and I wanted to make sure there were no leaking caps or other damage inside that might cause it to let out the magic smoke at power-on.
The RF shield inside was actually in pretty good shape. I could make out the spots where it was touched by fingers in the past, probably at the factory, but there was very little rust. I decided to just clean the shield and not waste time with vinegar and clear-coat at this time.
The board itself was also looking good. The few caps on it had not leaked and didn’t smell fishy, so I see no point in replacing them yet. There was a little flux residue around the edges, particularly in the top right corner, but it came right off with isopropanol.
Looking at the board, it’s easy to see there’s no magic as to how it works: It’s basically a self-contained Atari 2600. In the picture above you’ll notice it has a 6507 CPU chip and a 6532 RIOT (I/O + 128 bytes of RAM). Those were both off-the-shelf MOS chips. The chip in the top-left corner is a Coleco-branded equivalent of the Atari TIA (Television Interface Adapter) chip (TIA was designed by Jay Miner – father of the Amiga!). This thing only uses the ColecoVision for power and to pass the video signal to the ColecoVision’s RF modulator.
The bottom of the board, I discovered, looked pretty bad:

There was a ton of old flux residue. I’m not sure if this was from the original build, or if maybe the unit had been refurbished early in its life? It was bad enough in some areas that I thought a few traces had been completely eaten through and would need to be repaired. If you open the image full size, you’ll see what could be breaks in several areas.
However, just a thorough cleaning made things look a lot better:

None of the traces that I originally thought were broken were actually broken. There are a few tiny spots where the solder mask had been eaten away on some traces, but testing with a multimeter shows no issues. I repaired the broken mask with some green nail polish, which should be easily removable with alcohol during future repairs.
All cleaned up and reassembled: